Azure Service Bus Queues are part of the Azure cloud platform, providing a messaging service that enables communication between different parts of a distributed application.
Let us assume a scenario where users have multiple components or services in their application that need to talk to each other, but they might not always be available at the same time. Azure Service Bus Queues act as intermediaries, allowing one component to send a message to the queue, and another component to receive and process that message when it's ready.
For example, if users have an e-commerce website, when a customer places an order, users can use a queue to send that order to a backend processing system. The backend system can then retrieve orders from the queue one at a time and process them, ensuring that no orders are lost or missed, even if the backend system is temporarily busy or unavailable.

Manage Service Bus Queues from BizTalk360
To manage Service Bus Queues via BizTalk360, users need to first add their respective Azure subscriptions. Take a look into this article to know how to add azure subscriptions. Users have the flexibility to add multiple Azure subscriptions.
Once added, these subscriptions are listed in a dropdown menu. Users can effortlessly switch between subscriptions to manage their Azure Service Bus Queues.
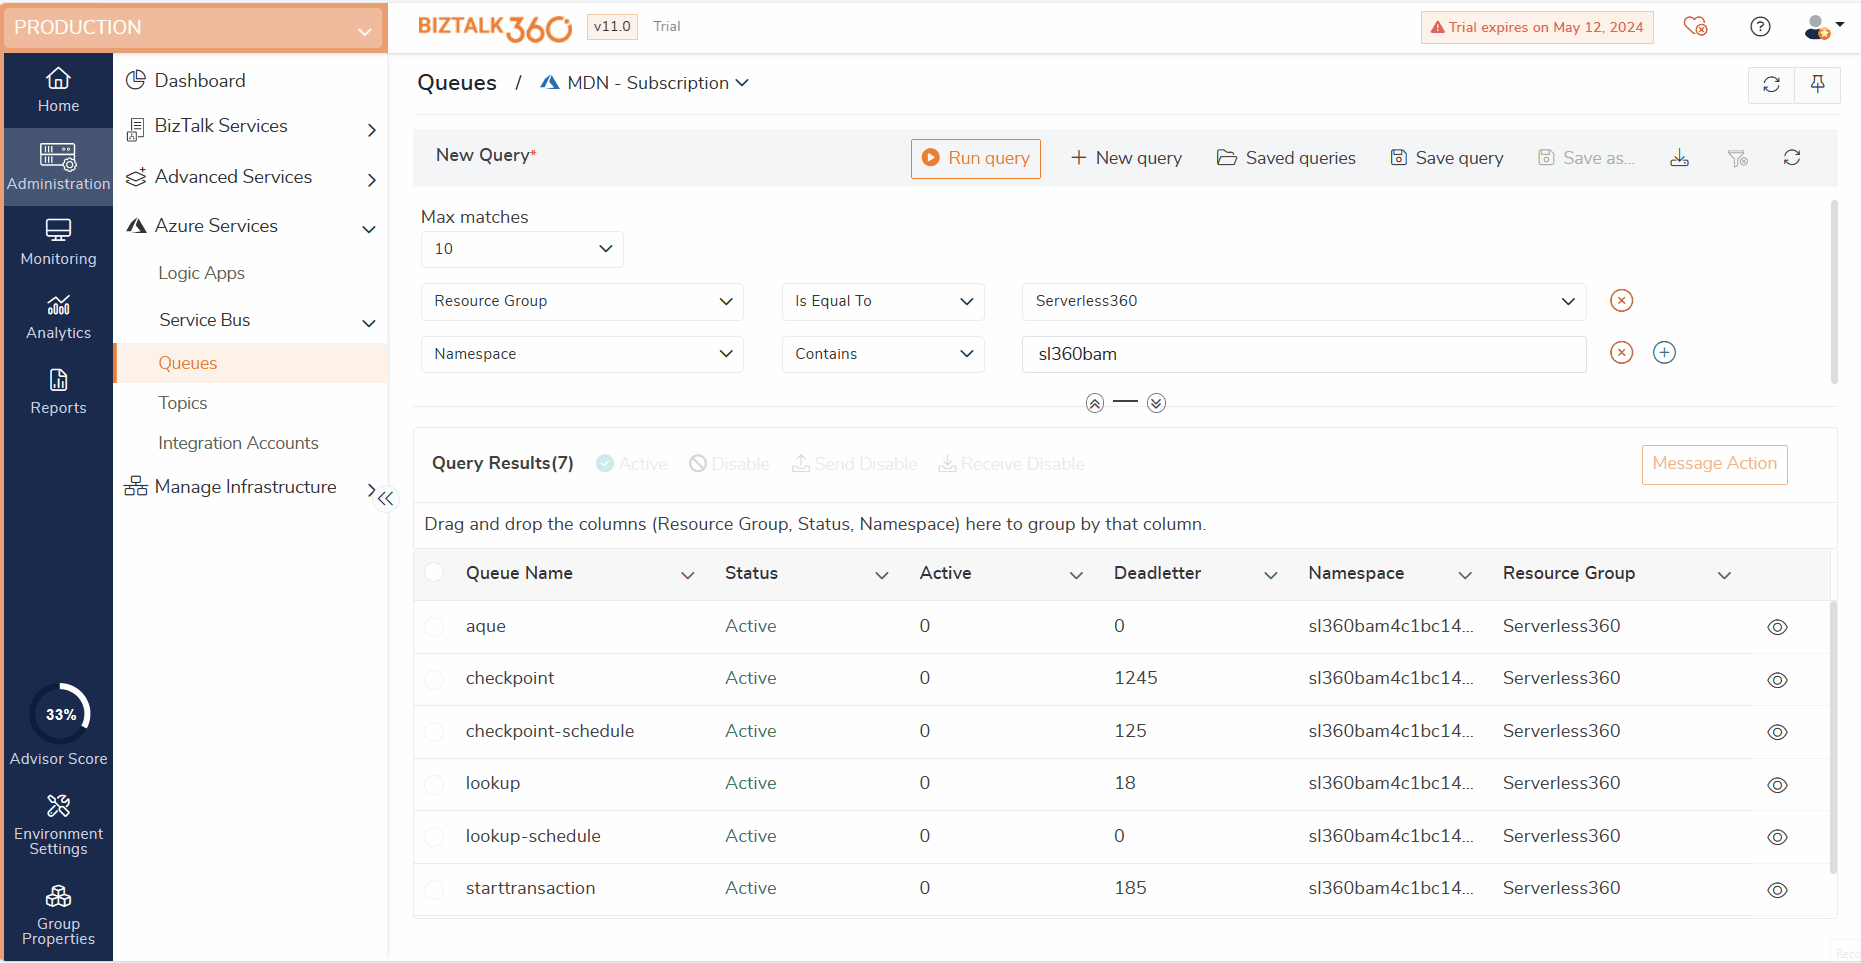
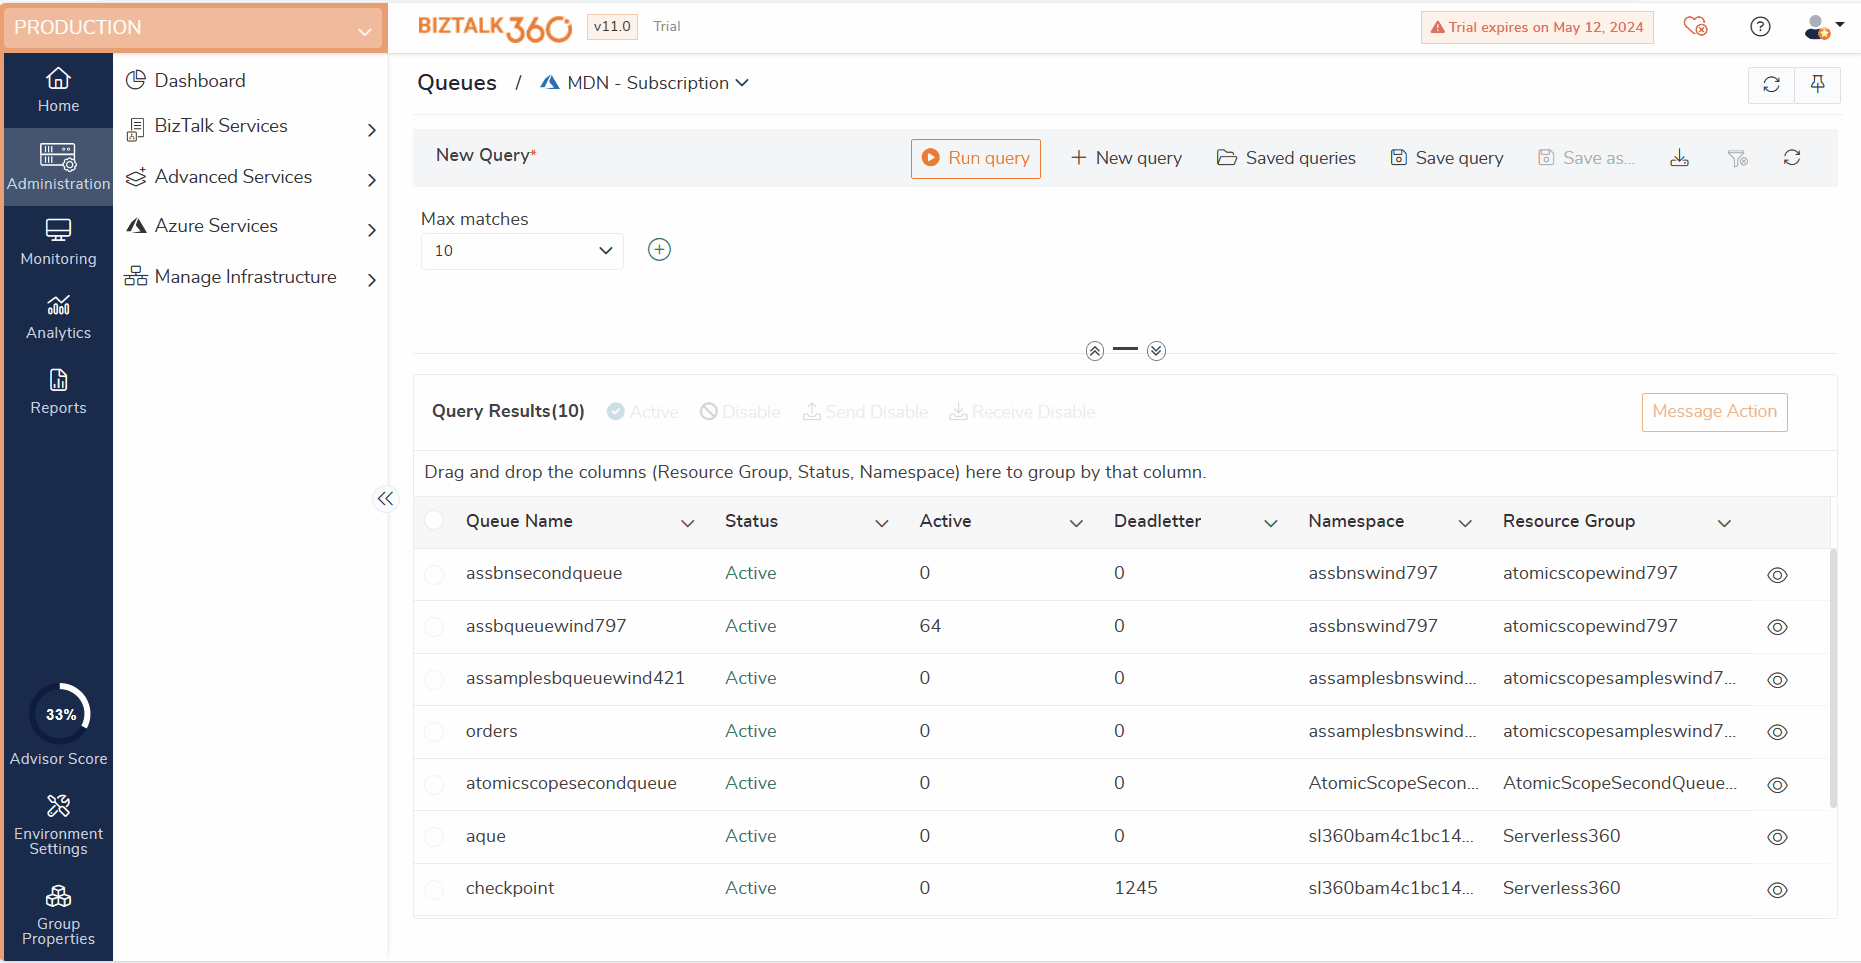
- The queues are displayed based on the selected subscription in the dropdown menu, showcasing their state and message count details.
- Select the queue from the list and click on the eye icon to view the queue and its message properties in detail.
- The queue property blade lists Queue details such as Subscription, Resource group, Creation Time, Status, etc. and Message properties such as Message counts, sizes, etc.
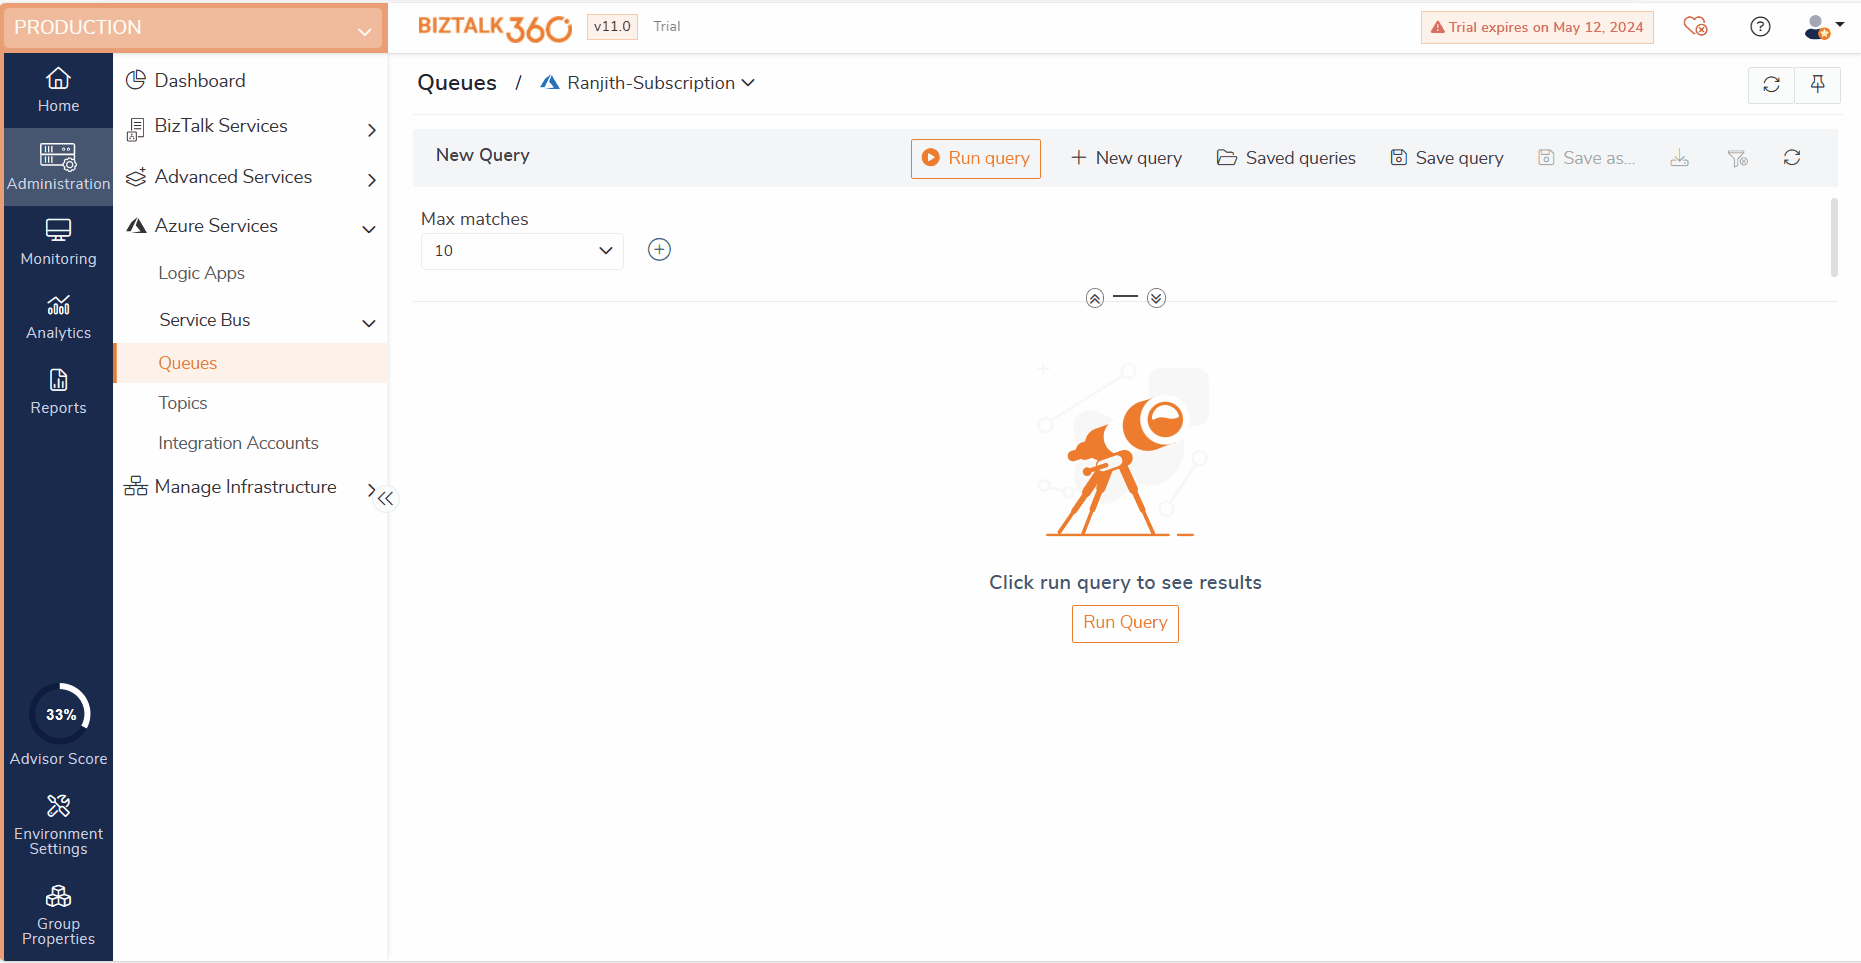
- The rich query filter capability allows the user to filter the query based on Queue Name, Status, Resource group, and Namespace. Save the query and pin for quick access.
Modify the State of Queues
Azure Service Bus Queues can exist in various states depending on their activity and configuration. Here are some common states:
- Active - Queues in this state are operational and ready to receive and deliver messages.
- Disabled – Queues in this state are temporarily inactive. Messages cannot be sent to or received from a disabled queue.
- Suspended - Queues can enter this state due to issues such as quota violations, disabling of subscriptions or other operational problems. While suspended, the queue cannot process messages.
- Send Disable - Users are unable to send messages to the queue, but they can still receive messages from it.
- Receive Disable - The user has the ability to send messages to the queue, but they are unable to receive messages from it.
Users can modify the state of queues by selecting them and choosing the desired state (such as Active, Disabled, Send Disabled, or Receive Disabled). Once the action is succeeded, this change will be applied to the respective queues in the Azure subscription.
Additionally, users have the option to perform this action on multiple queues at once by selecting them simultaneously and applying the desired state action.
Process Messages in Queues from BizTalk360
BizTalk360 provides an option to users to process the messages within a queue. Processing messages in queues commonly includes:
- Send Message - This process involves adding a new message to the queue. Messages can contain various data or payloads that needs to be processed by the receiving application. Begin by choosing a queue and selecting the "Message" button, offering options to send, upload, and purge. Select the "send" option, which opens the send message blade. Within this blade input the desired message content and specify the count of messages to send, then proceed by clicking send. Additionally, user properties can be pushed from here.
- Upload Message - In scenarios where multiple messages need to be sent to the queue simultaneously, you can upload a batch of messages in a single operation. This helps optimize performance and reduces the overhead of sending individual messages. This process can be performed by updating the message in excel and uploading the excel workbook. Each message updated in excel should have values for Message-Id, Message Content, system, and Custom properties must be updated in excel to upload the message. Users can download the template from the upload message blade and use the same to modify the contents and upload.

- Purge Message - Purging the messages in a queue involves removing all messages or specific messages currently stored in the queue. This operation is typically used when you want to clear the queue of any existing messages, either for cleanup purposes or as part of a maintenance operation. The purge option in BizTalk360 allows users to delete the Active and Dead letter messages from the queue. Users can delete all the messages or delete few messages by specifying the count. If there are no messages available in the queue, an indication "Active/Dead letter message not found" is shown.

Access and Security
- All state change operations and message processing actions executed by users are systematically recorded and audited within the Governance and Audit section.
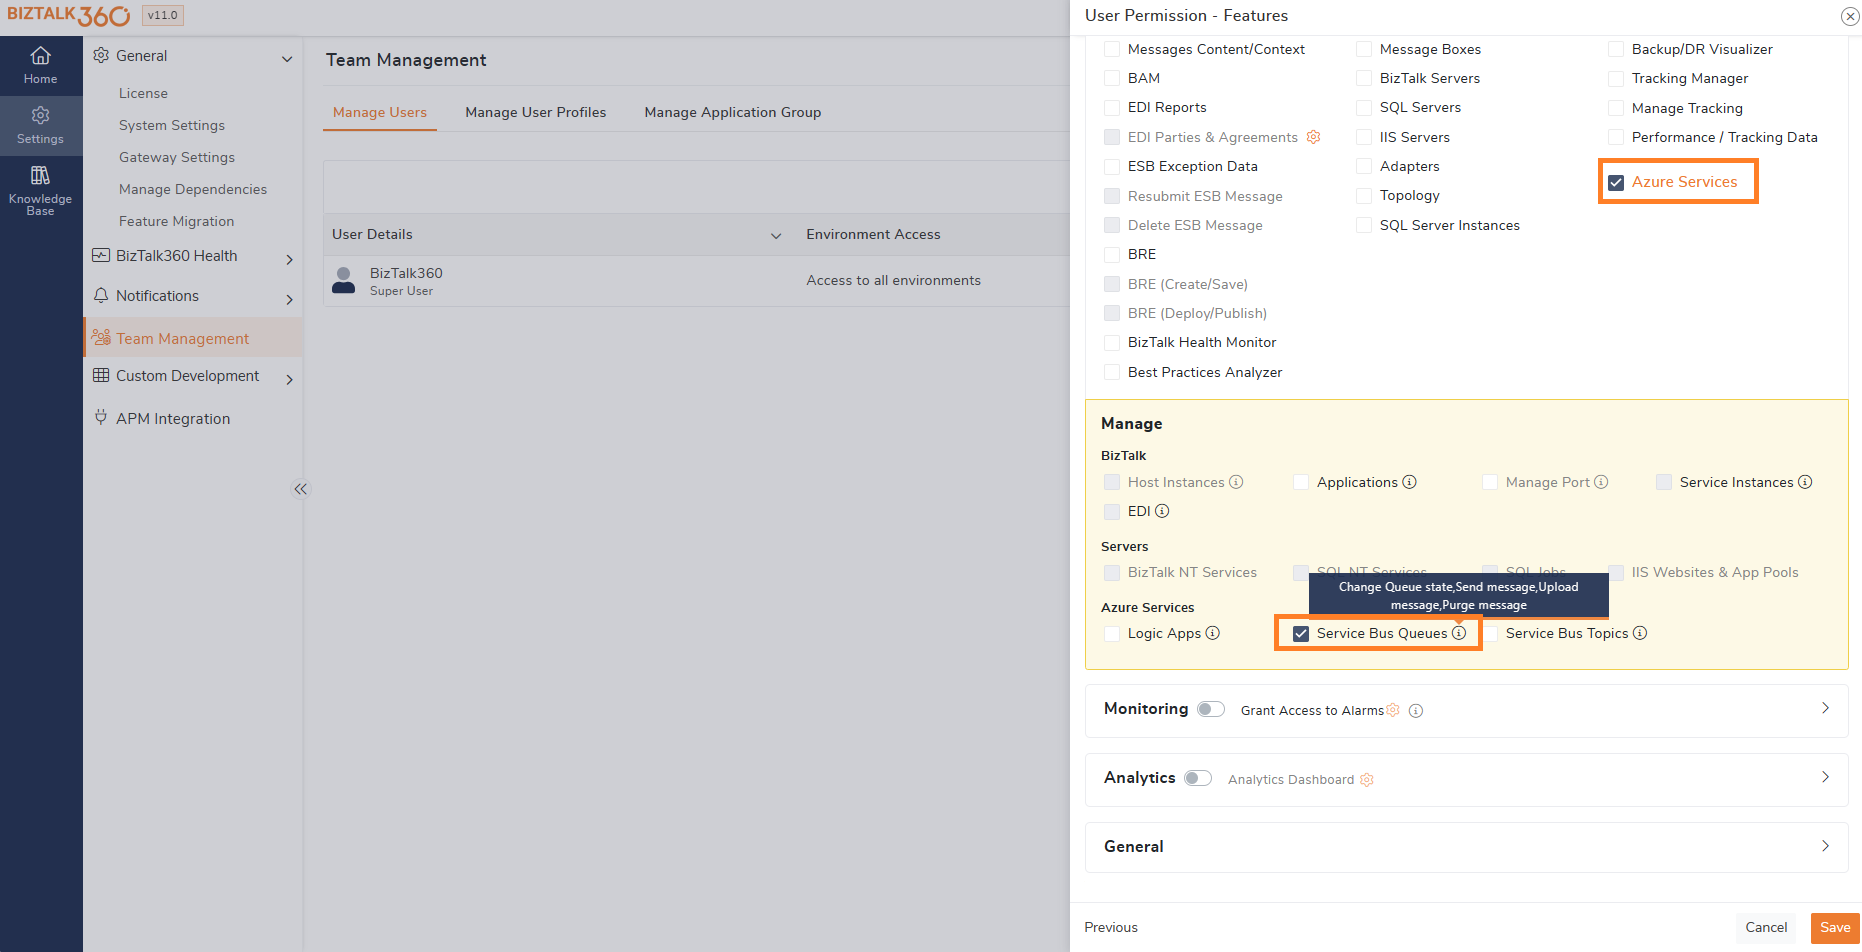
- By default, Super users are granted with the ability to manage queues within BizTalk360.
- For Normal Users / NT Group Users, the following access permissions are necessary to manage service bus queues:
- Azure Service Access: Required to view the service bus queues.
- Manage Service Bus Queues Permission: Essential for managing the state of queues and processing messages within them.