Custom Widgets Operations
- 29 May 2024
- 1 Minute to read
- Print
- DarkLight
- PDF
Custom Widgets Operations
- Updated on 29 May 2024
- 1 Minute to read
- Print
- DarkLight
- PDF
Article summary
Did you find this summary helpful?
Thank you for your feedback
In this article, we will take a comprehensive look at the steps involved in adding a Custom Widget to the Administration dashboard. In BizTalk360, users can create custom widgets and associate them with their dashboard. Through the custom widget, the user can (for example) integrate the BizTalk360 API, and third-party APIs (like Salesforce, Power BI, and Azure, etc.), and create the database queries by using Secure SQL Queries.
Let's assume a real-time scenario for monitoring the SQL Jobs which is normally a tedious one. In the BizTalk environment, multiple SQL Jobs are configured like BizTalk server management Database SQL Jobs, purging Jobs, etc. A custom widget can be added to have a quick overview of SQL jobs from the dashboard in two different ways:
Follow the steps as shown below to create a custom widget to monitor the SQL Jobs and pin it to the Administration dashboard. This will enable the operations team to monitor all the activities from the dashboard.
- Log in to BizTalk360
- Select the environment from the environmental panel.
- On the Administration screen, click Add Widget
- You will notice the Add/Remove Widget blade on the right-hand side of the screen. Click Add Custom Widget.
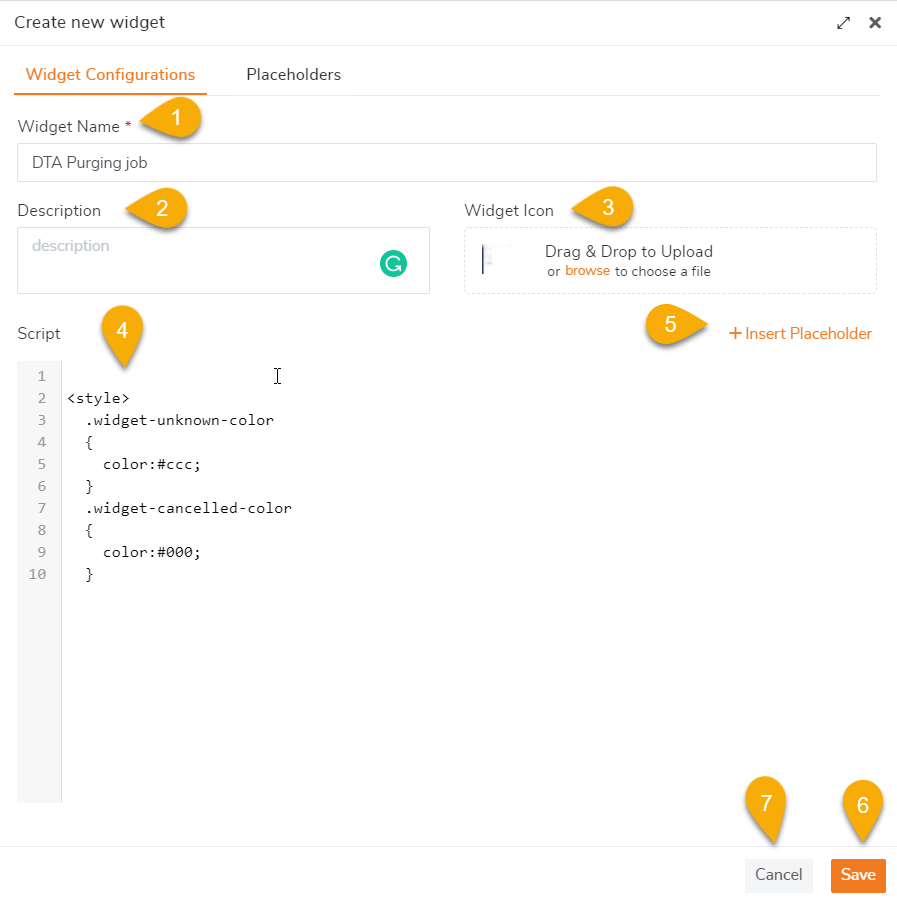
The Add New Custom Widget blade will request the basic configuration details like:
- Widget Name - Enter a friendly name that helps to identify the custom widget. Ex. DTA Purging Job
- Description - Enter a short description of the widget.
- Widget Icon - This section allows the user to add a logo for the custom widget.
- Script - Type the script into the space provided.
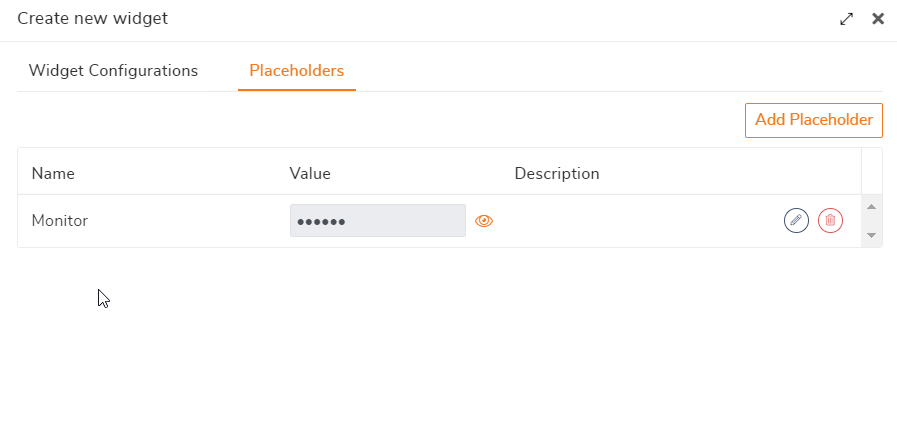
- Insert Placeholder - While using external API codes, there may be occasions when you will be forced to use credentials (such as username, password) or confidential information. Instead of hardcoding the information, you can create them as a placeholder, and simply refer them to the code.
- Save - Click the Save & Pin to Dashboard button to close the Add New Custom Widget blade. Once the blade is closed, you will notice a confirmation message as Configuration Saved Successfully
- Cancel - Click Cancel to cancel the custom widget creation process.
Was this article helpful?