In this article, we will show you the different ways in which you can add a widget into the BizTalk360 dashboard. If you are new to the concept of a widget in BizTalk360, we recommend you read the articles in this section. This will give you an insight into what is a widget, and the different types of widgets you can create in BizTalk360.
You can add a widget to both the Home (Administration) Dashboard (default dashboard) and a Custom Dashboard in BizTalk360.
The two different ways to add a widget in BizTalk360 are:
- Through the Add Widget option on the Home (Administration dashboard) and Custom Dashboard page
By "Pinning" your preferred section to the Home (Administration) dashboard
Adding a new widget to a BizTalk360 Dashboard
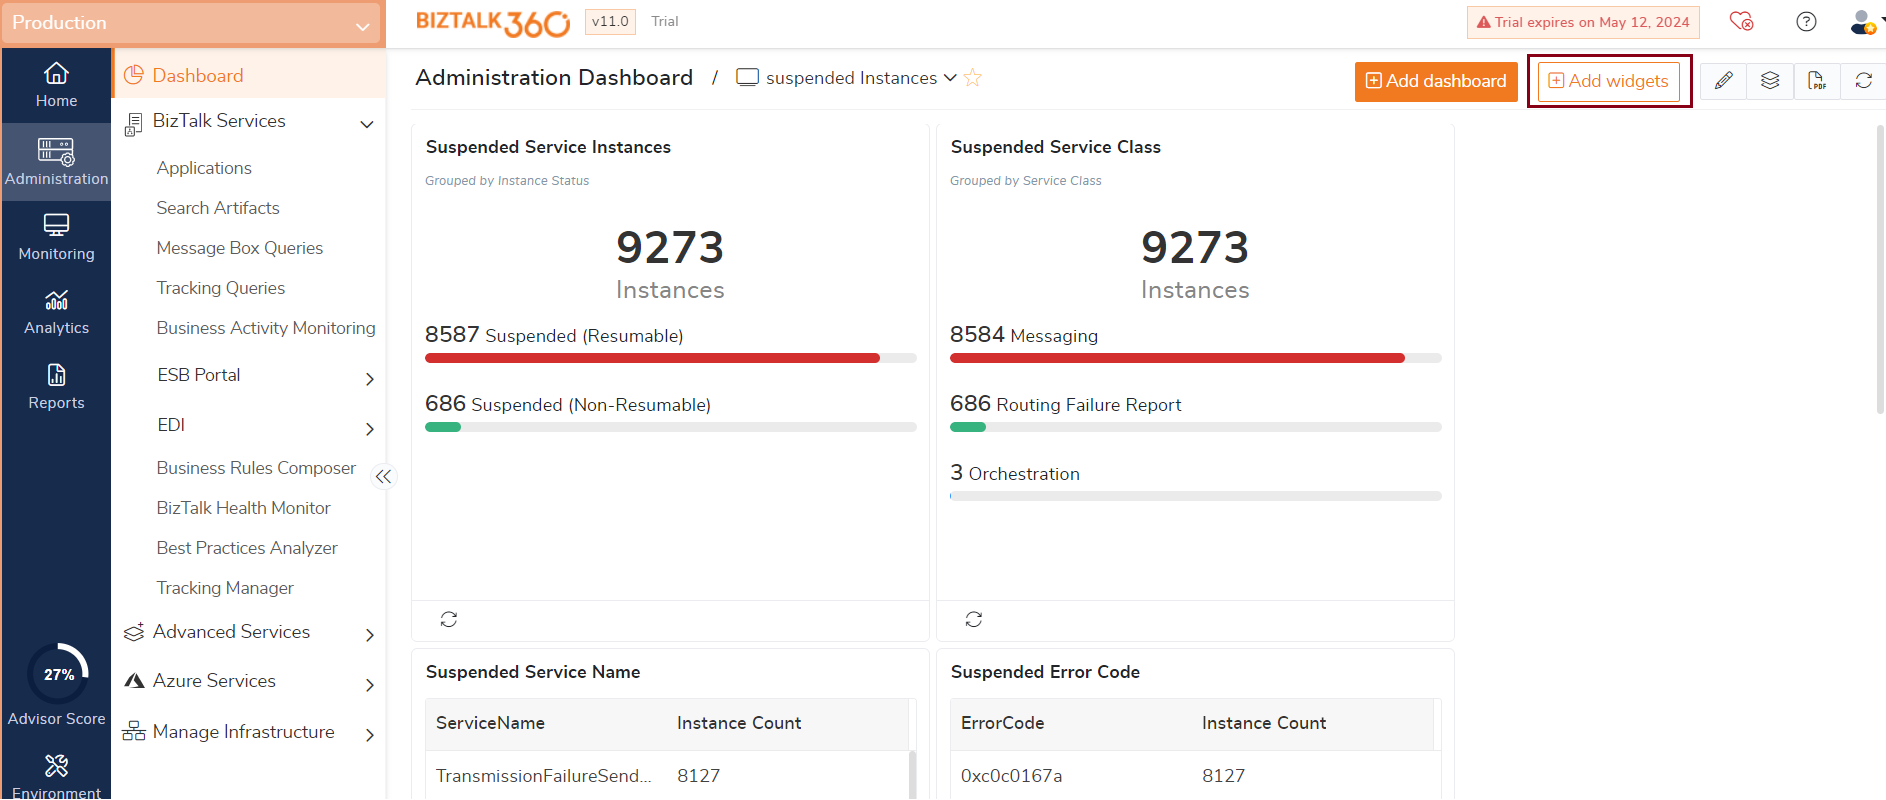
Follow the steps as shown below to add a new widget to the dashboard. To understand the process better, we will show the example of adding the 'Suspended Instances (Group)' static widgets into the Operations Home Dashboard.
- Log in to BizTalk360
- Select the environment from the environmental panel.
- On the Administration screen, click Add Widget
- You will notice the Add/Remove Widget blade on the right-hand side of the screen. The Add/Remove widget blade will contain the list of Static Widgets that can be added to the dashboard.
- Expand the Suspended Instances (Group) section.
- Click the + icon against each widget to add the widget to the dashboard.
- If the widget was successfully added to the dashboard, you will notice a confirmation message as "Widget Added to dashboard successfully". The + icon will change as x.
- Click the + icon to add the remaining widgets to the dashboard.
- Click the Save button to close the Add/Remove widget blade. Alternatively, you can click the X on the Add/Remove widget blade to close the blade.
- Once the blade is closed, you will notice a confirmation message as Configuration Saved Successfully
Removing a widget from a BizTalk360 Dashboard
In this section, we will look at the steps to remove a widget from the BizTalk360 Dashboard. As mentioned in other paragraphs, a widget can be added to the Administration Home dashboard and Custom Dashboard. A widget can be removed from the dashboard in two ways -
- Deselecting an already added widget through the Add Widget section.
- Deleting a widget from the dashboard customization area
Deselecting an already added widget through the Add Widget section.
Follow the steps shown below to remove a widget from the dashboard. To understand the process better, please assume that all the static widgets under the 'Suspended Instances (Group)' are added to the Administration Home Dashboard. We will see how to remove these widgets from the dashboard.
- Log in to BizTalk360
- Select the environment from the environmental panel.
- In the Administration screen, click Add Widget
- You will notice the Add/Remove Widget blade on the right-hand side of the screen. The Add/Remove widget blade will contain the list of Static Widgets that can be added to the dashboard.
- Expand the Suspended Instances (Group) section.
- Click the - icon to delete the widget from the dashboard.
- If the widget was successfully removed from the dashboard, you will notice a confirmation message as "Widget deleted successfully". The - icon will change as +
- Click the - icon to remove the remaining widgets from the dashboard.
- Click the Save button to close the Add/Remove widget blade. Alternatively, you can click the X on the Add/Remove widget blade to close the blade.
- Once the blade is closed, you will notice a confirmation message as "Configuration Saved" Successfully
Deleting a widget from the dashboard customization area
In addition to deleting the widget through the Add Widget section, you can also delete a widget.
from the dashboard in three other ways -
- Click the Customize icon on the right-hand side of the screen.
- Select the gear icon for the widget you want to delete.
- Select Remove Widget from the list.
Pinning a Feature as a Widget to the Dashboard
In this section, we will take a detailed look at the steps to pin a BizTalk360 feature as a shortcut (widget) on the dashboard. You need to remember that when you pin a feature to the dashboard, it will get pinned ONLY to the Administration Home dashboard. You cannot pin a feature to the custom dashboard or analytics dashboard. You cannot pin a Home to another Home (dashboard) as a widget. For instance, you cannot pin the Analytics home dashboard as a widget into the Administration Home dashboard.
Follow the steps as shown below to pin a feature to the dashboard as a widget. To understand the process better, we will show the example of pinning the "Message Box (Queries)" feature to the Administration Home dashboard.
- Log in to BizTalk360
- Select the environment from the environmental panel.
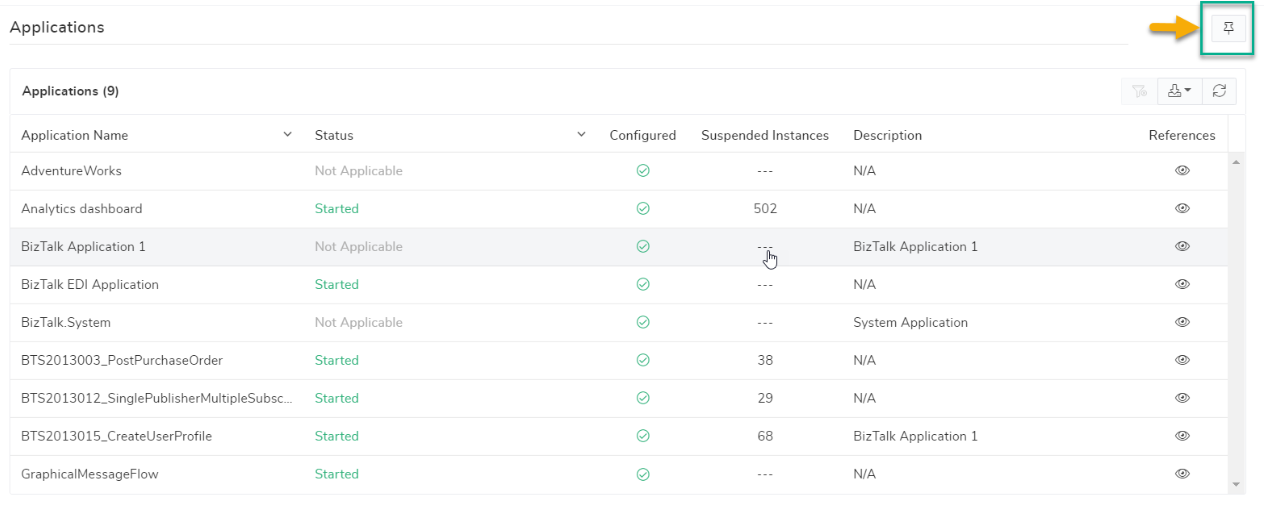
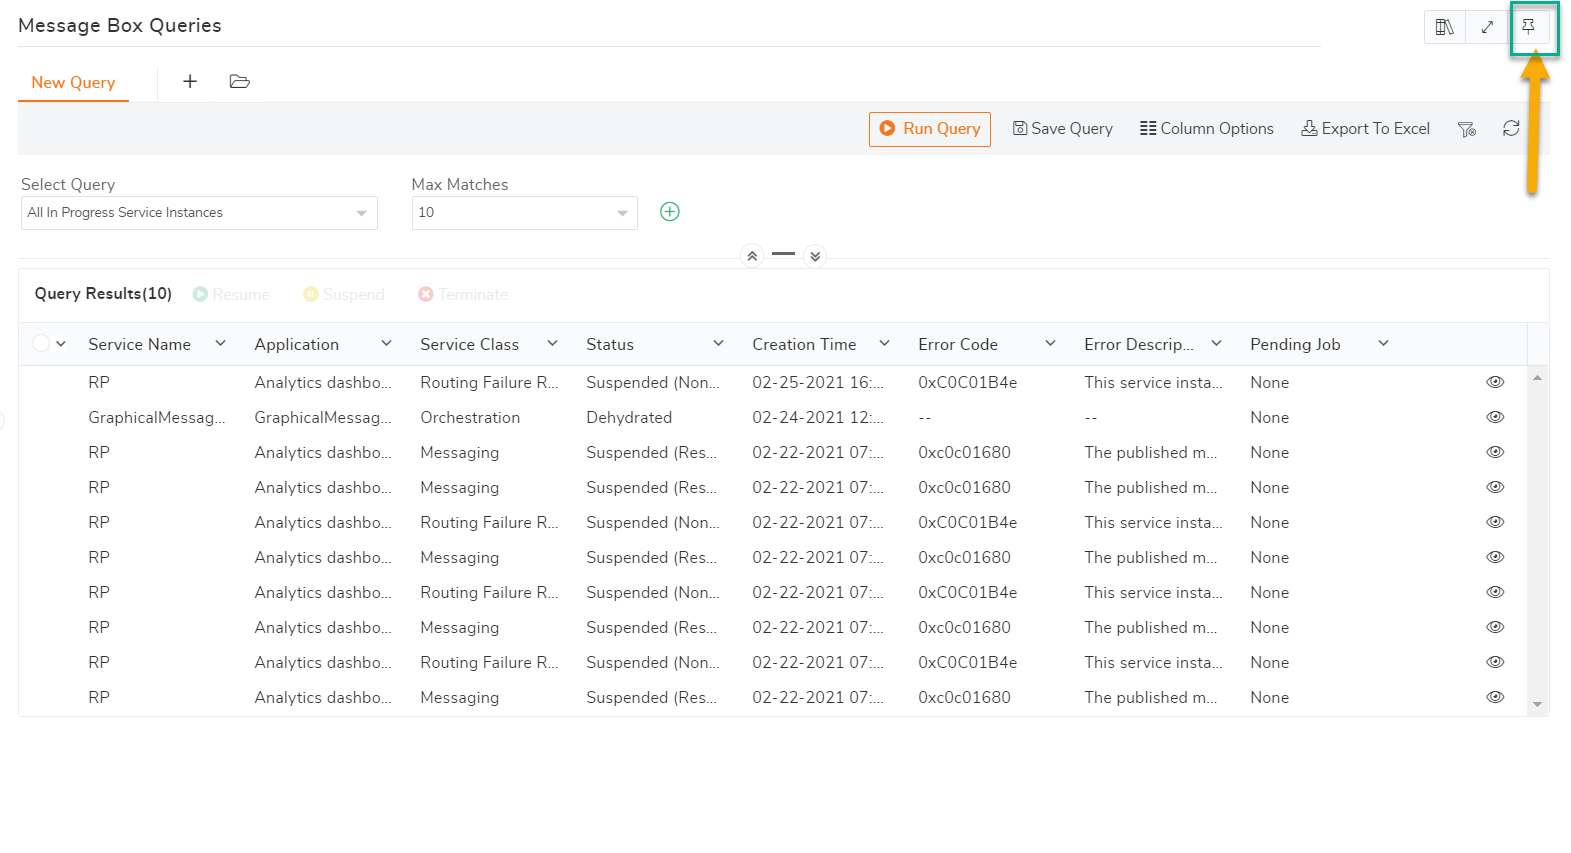
- Select 'Administration' and navigate to the feature that you want to pin to the dashboard, in this case, Message Box (Queries)
- Besides the feature name, you will notice a Pin icon.
- Click the 'Pin icon' to pin the feature to the dashboard (as a widget). You will notice a confirmation message as "Widget being added to dashboard...".
- If the operation was successful, you will notice a confirmation message as "Widget Added to dashboard successfully". The feature will get added to the Operations home dashboard.
- On the Operations Home dashboard, you will notice the Message Box (Queries) feature pinned as a widget. Clicking the widget will take you to the feature in one click.
Editing the Widget Title
The widgets are loaded on the dashboard with a predefined title. You can change the titles according to your preference by customizing the widget. Follow the steps as shown below to edit the widget name:
- On the Administration Home dashboard, click the Customize button. You will notice that all the widgets will be in a grayed-out state.
- Click on the widget for which you want to change the title. The widget will be activated with the controls required to edit the widget.
- Next to the widget title, enter the new title for the widget in the space provided.
- Click OK to save the new widget title.
- Click Done on the top right corner of the screen to save the dashboard customization.
Resizing the Widget
In BizTalk360, when a widget is added to the dashboard, it gets added to the best size where all the information will be visible to the user. However, we have provided functionality to users where you can customize the size of the widgets according to your needs. Say, the widget for monitoring service, when it loads on the default dashboard, it is by default in the Normal size. But you can resize it to be Small to occupy less space in the dashboard grid and add more widgets.
Before continuing to read this section, we recommend you read this article that talks about the different widget sizes and the different sizes a widget can be resized.
Please remember that you cannot drag the static widgets on the corners to resize it to a different size. You can only do this with the custom widgets.
Follow the steps as shown below to resize the widget. For a better understanding of the functionality, we will consider one widget 'Message Box' which can be found under Add Widget -> Environment Artifacts. By default, when this widget is added to the dashboard, it will be in the large size format (4x4). The different sizes that you can customize this widget are Wide (4x2), Normal (2x2), Small (2x1).
- In the Administration Home dashboard, click the Customize button. You will notice that all the widgets will be in a grayed-out state.
- Click on the gear icon of the widget that you want to resize. The widget will be activated with the controls required to edit the widget.
- You will notice the options to customize the widget with the different sizes. Click the size to which you want to resize the widget.
- Click Done on the top right corner of the screen to save the dashboard customization. Alternatively, click the 'ellipses' icon and select Done Customizing from the drop-down
- The widget will be resized to the chosen size.
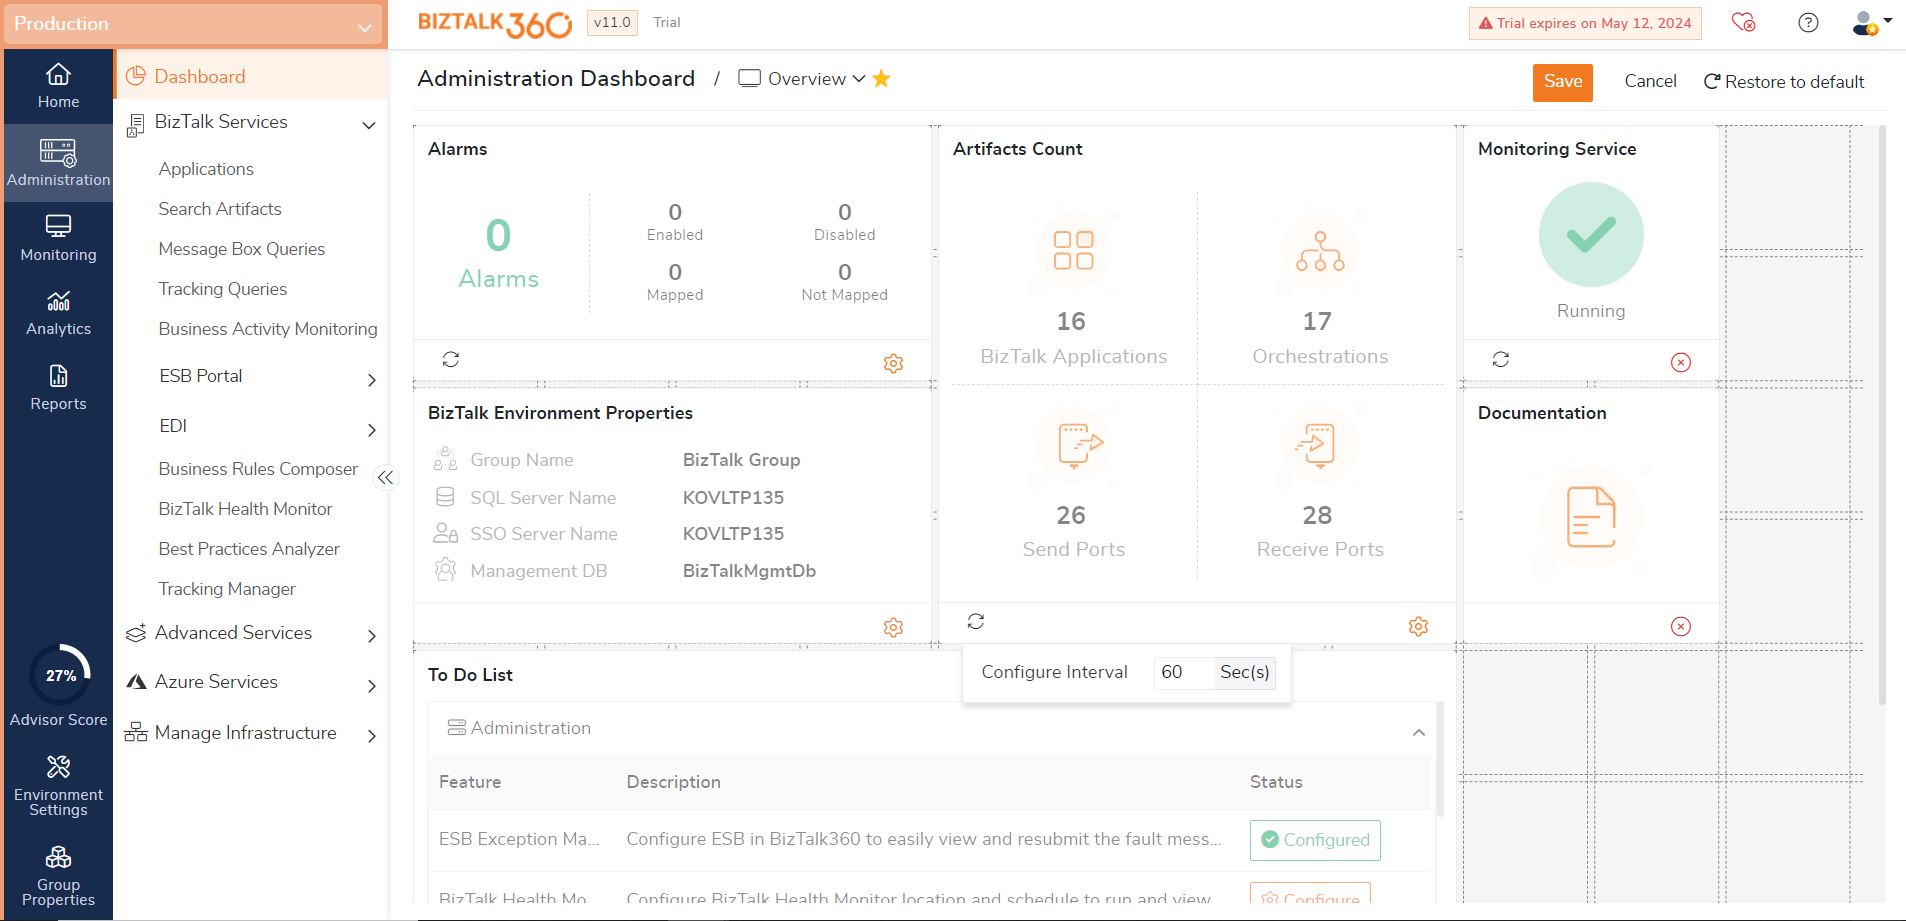
Configuring the Widget Refresh Interval
By default, the widgets have a refresh interval count of 60 seconds. You will notice the refresh timer when you hover over the widget on the dashboard. After every refresh cycle, the widget values will be refreshed. The minimum interval value that can be configured is 1 second and the maximum is 99999 seconds.
All the widgets (list mentioned in this article) except To Do List, Message Box, Support & Documentation, BizTalk Environment Properties, Pinned Widgets support the refresh interval configuration.
- In the Administration Home dashboard, click the Customize button. You will notice that all the widgets will be in a grayed-out state.
- Click the Refresh icon.
- You will notice the Configure Interval pop-in screen with the space to adjust the refresh interval. Enter the new refresh interval value in the space provided. Alternatively, you can use the up/down arrow marks to select a refresh interval value.
- Click OK to save the new refresh interval configuration.
- Click Done on the top right corner of the screen to save the dashboard customization.
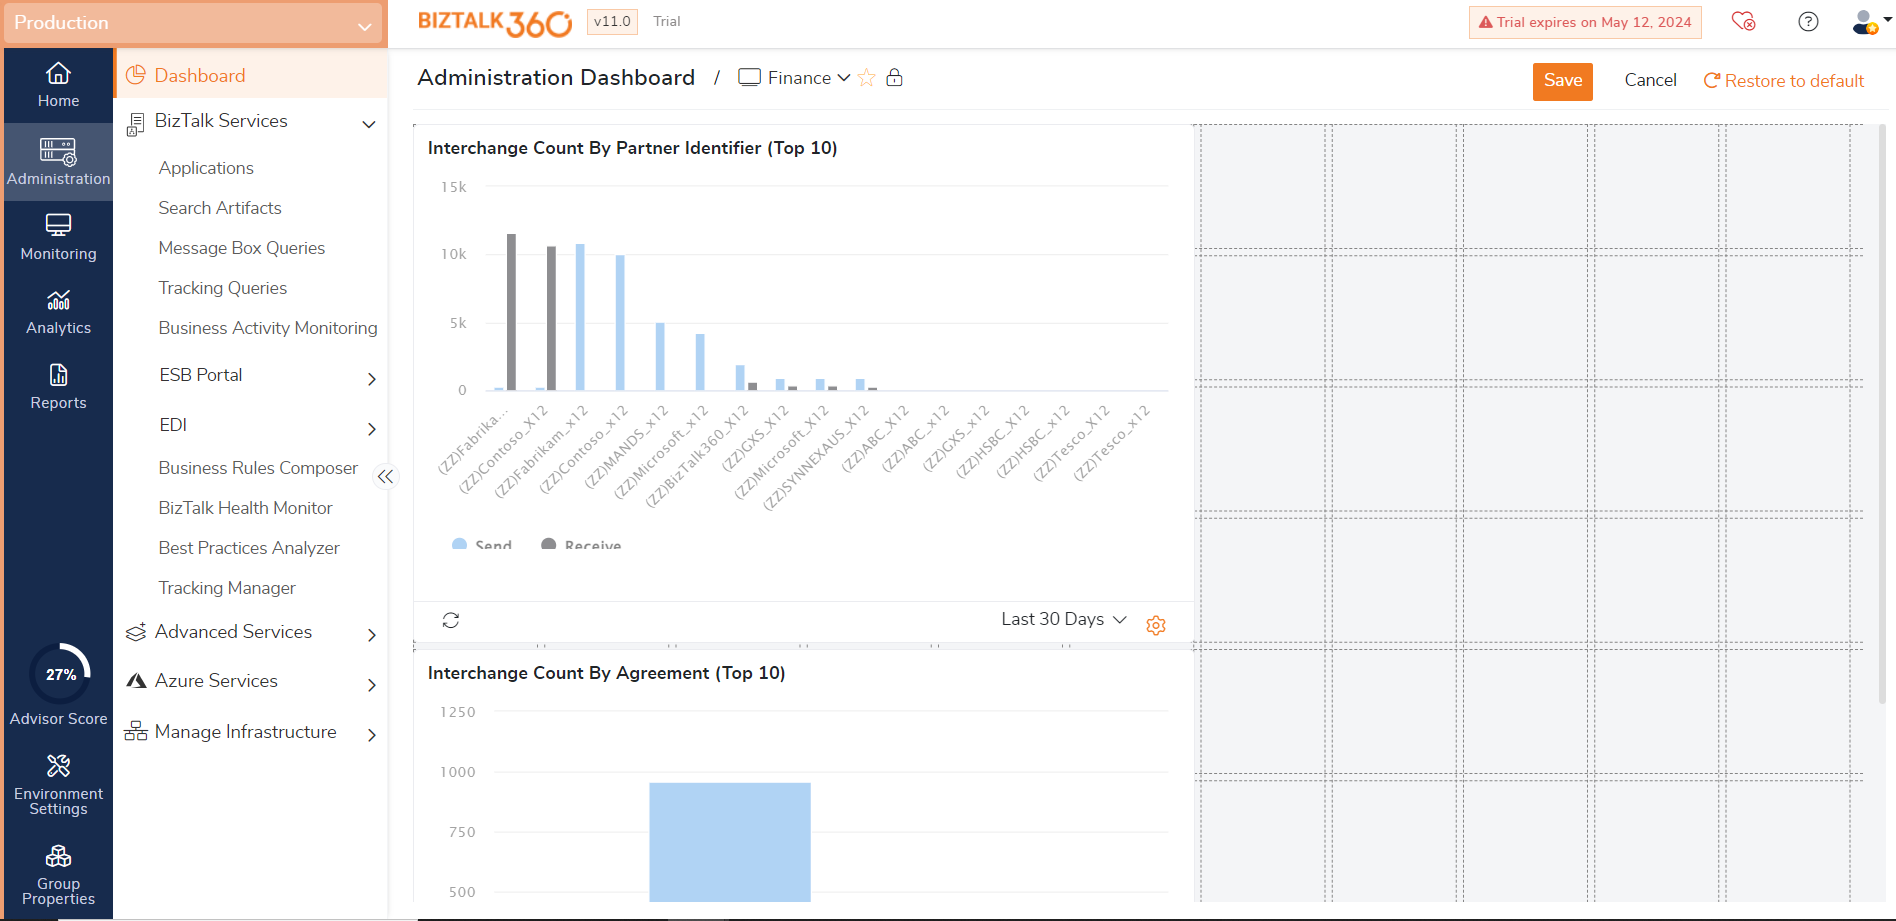
Restoring the Default Layout of the Dashboard
BizTalk360 allows users to customize the dashboard according to their convenience. But, let's say, you accidentally removed a widget, or you want to clean up the dashboard to the original state (Basic Dashboard with Default Widgets), you can do so using the Restore Default Layout option on the dashboard.
Follow the steps as shown below to restore the default layout of the dashboard. To understand the process better, let us assume you have a dashboard view with all the Static Widgets added on to the Administration Home Dashboard. You want to reset the Home Dashboard to the default view and create a new custom dashboard with the different widgets. To achieve this,
- Log in to BizTalk360
- In the Administration Home dashboard, click the Customize button.
- You will notice that all the widgets will be in a grayed-out state. Click the Restore Default button.
- You will notice a warning dialog box with the message "All active changes will be reverted and any pending edits on these will be discarded. Are you sure you want to restore the layout of your dashboard? ". Click Yes if you want to go ahead and restore the dashboard to the default state. Click No to retain the existing layout of the dashboard.
- Once the restoration process is complete, you will see a confirmation message as "Widget added to dashboard successfully". The layout of the dashboard will no longer have the static widgets that you earlier had. Only the default (basic) widgets will be available.
- According to the above-mentioned scenario, you can now go ahead and create a custom dashboard and add the widgets to the custom dashboard. This process is not explained in this article since it is out of the scope of this article.
- Clicking the Cancel button while customizing the dashboard will restore the dashboard to the previously saved configuration.