BizTalk360 allows users to customize the template of the emails they receive from the product. The user can set up email templates based on their needs in the terms of theme, by editing the XSLT file. Besides that, they can also customize the footer text and captions.
This article explains how to set up email templates.
Setting up an Email Template
- Login to BizTalk360
- Click 'Settings' (gear icon) on the home page
- Click 'Notifications' in the menu panel on the left side of the screen
- Click 'Manage Email Template' which will navigate you to the Manage Email Template section

For creating a new template, click on the 'New Email Template' icon. A blade opens for providing the basic details like:
- Template name
- Description
- Toggle option to make this template as a default one
Also in this section, the user can provide their own information like:
- From Display name
- From Email Address
- Subject prefix
- Logo text
- Footer texts
- Customized theme
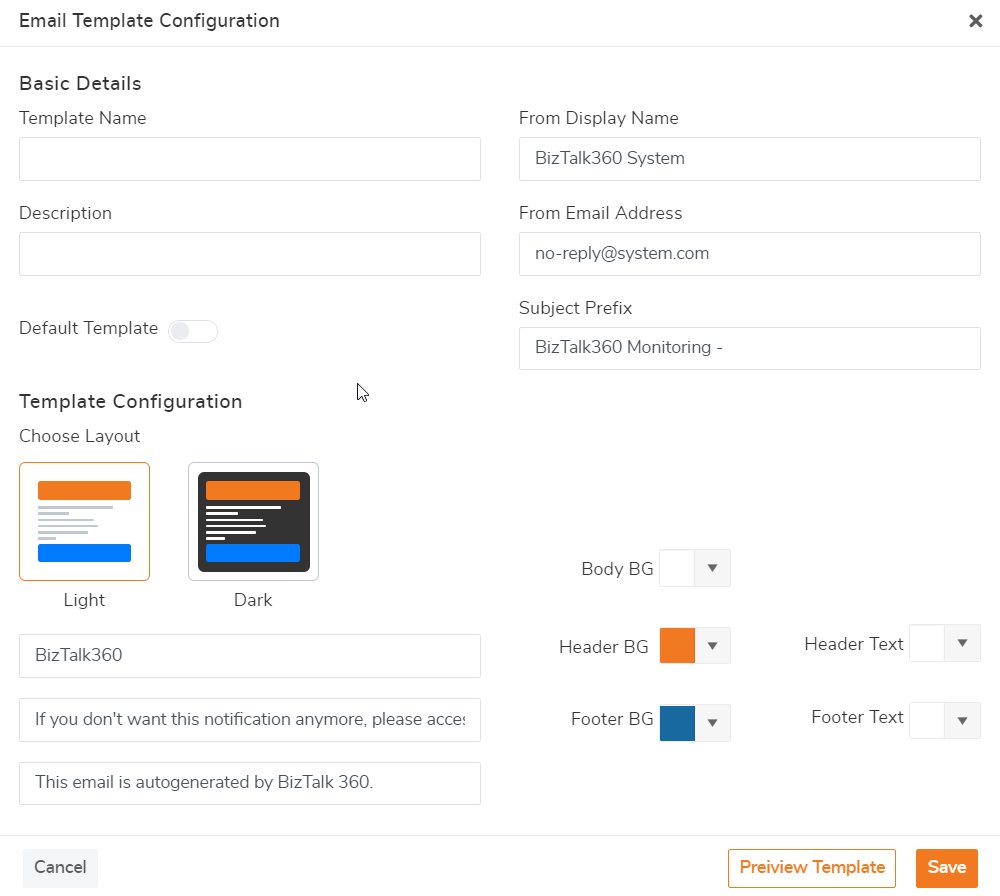
Users can choose from 6 Background (BG) colors that represent the different Light and Dark themes. Once the theme is selected, the user can preview the template by clicking the 'Preview Template' button or click the eye icon to view the preview. The below picture shows a sample preview template. 
Editing the XSLT of an Email Template
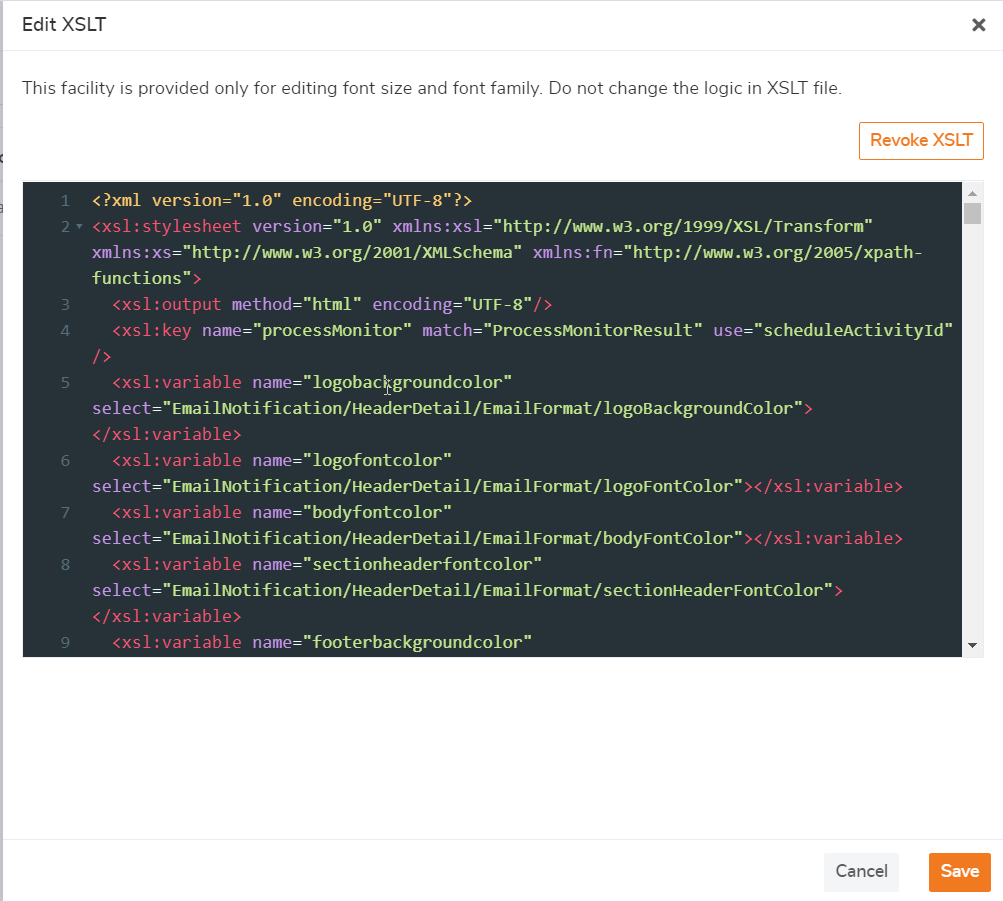
BizTalk360 uses XSLT (extensible Stylesheet Language Transformation) as the styling language for customization of the email template. Follow the below steps to edit these XSLT files from BizTalk360.
- Click on the 'Edit XSLT' button, which will navigate you to the XSLT file section of the Email Template
- Click on the 'Edit' option and edit the XSLT. After editing the XSLT, validate the XSLT by clicking the 'Validate XSLT' button
- The user can restore the previous XSLT by clicking on the 'Revoke XSLT Changes' option
- Click the 'Save' button to save the changes
- Choose the 'Cancel' option if the user wants to cancel the settings
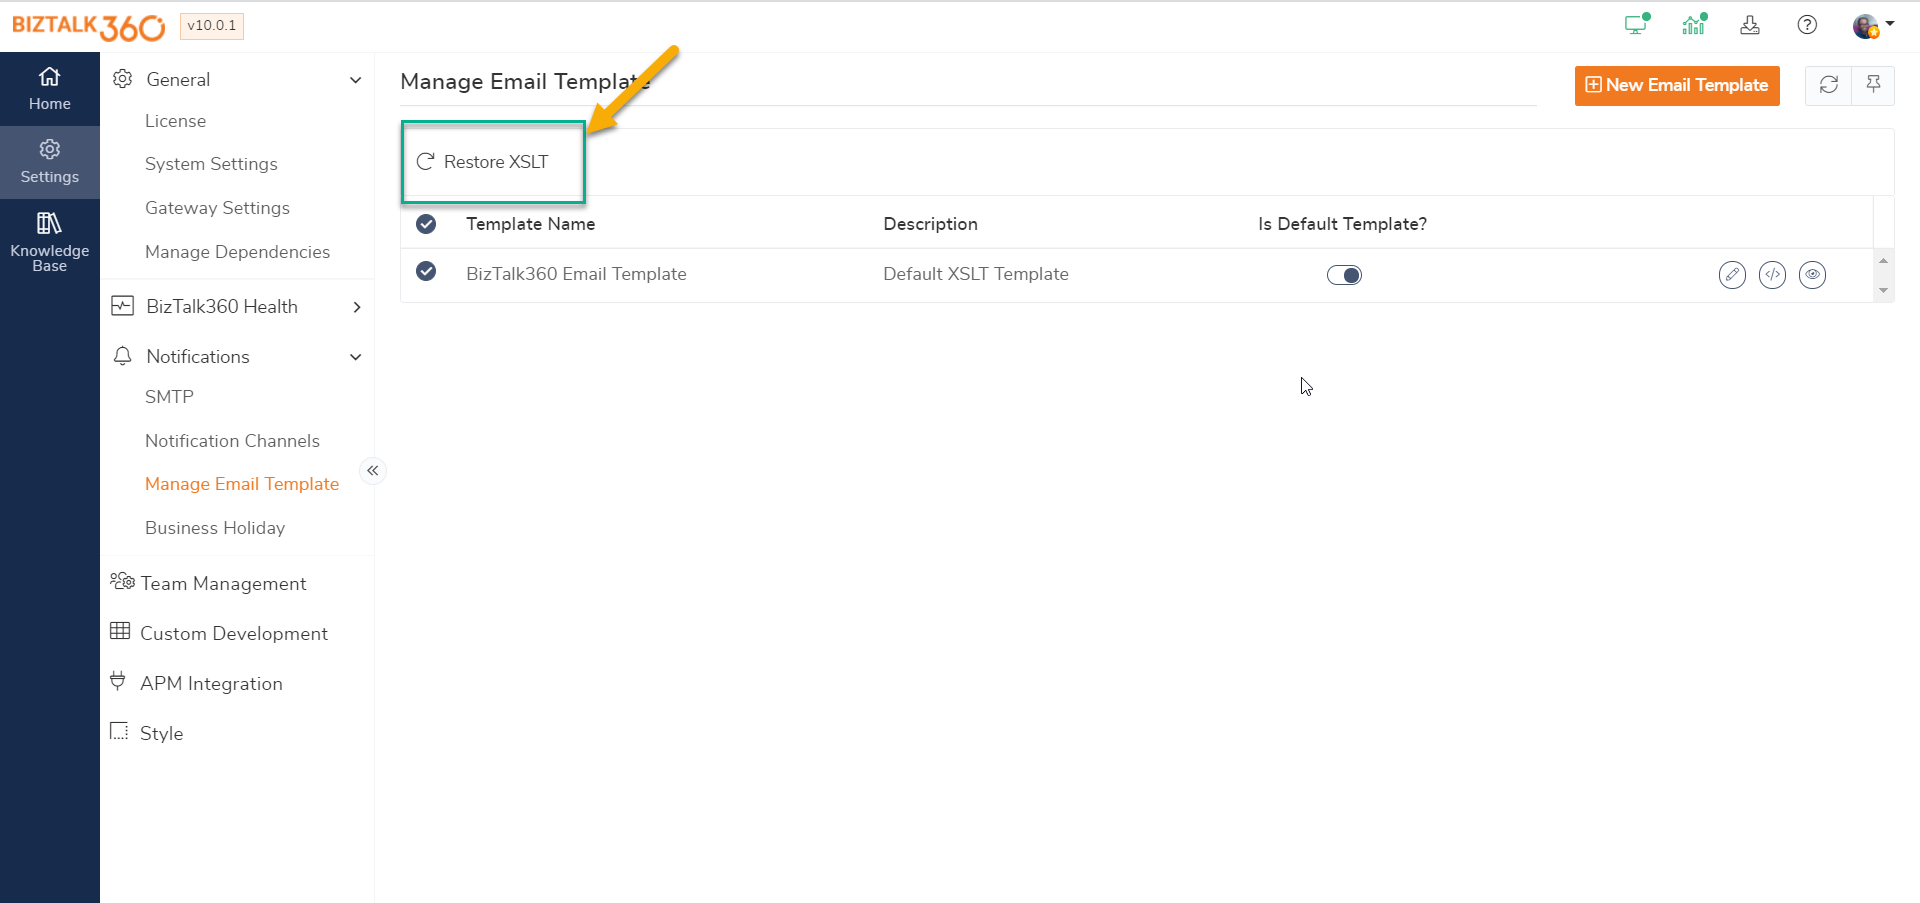
Restore System XSLT
The Restore System XSLT option helps the user to restore the XSLT update from the database.
Example: Whenever we make any improvements with regards to the default email template, the improvements are stored in the BizTalk360 database. To make use of the improved email template, you can use the Restore System XSLT option, which will replace the current XSLT with the System XSLT.
Alarm Configuration of an Email Template
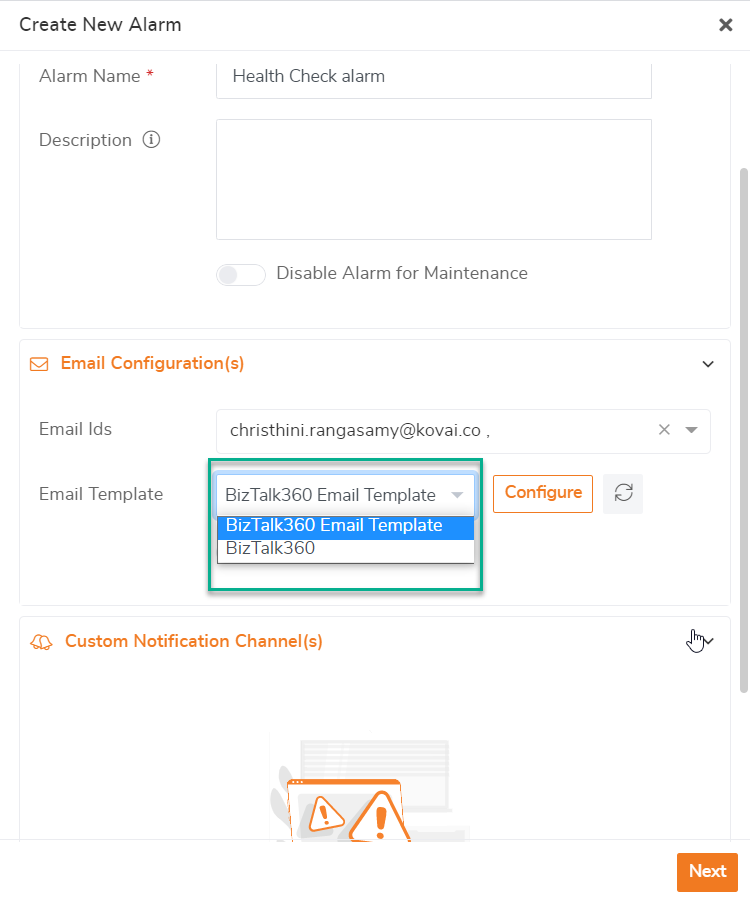
In the Alarm Configuration section, you can select the Email template that has been created in the Manage Email Template section. To select a template, follow the instructions below:
- Login to BizTalk360
- Click the 'Monitoring' section in the environment panel
- Select the 'Manage Alarm' section

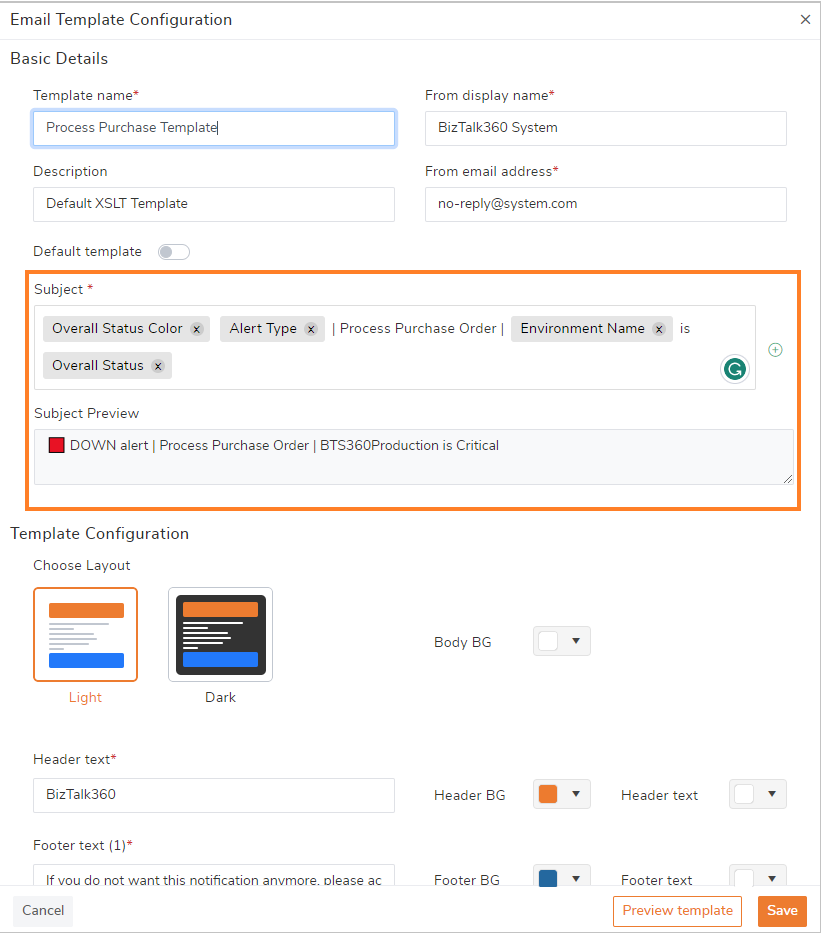
Email Subject Customization
Email subjects can be customized according to the user's preference. Predefined information like the color of the overall status, alert type, the name of the alarm, the environment name, and the overall status can be customized in the subject. Also, you can review the subject in the preview down below.
You can also include your own text in the subject along with the predefined values. Let's say you have alarms set up for several business operations, such as Process Purchase Orders, Customer Management, etc. It will be difficult to distinguish between the alerts you are getting for the various business processes. To do this, you can make a separate template for each business process that includes the business information in the subject for better understanding, categorization, and searching.
