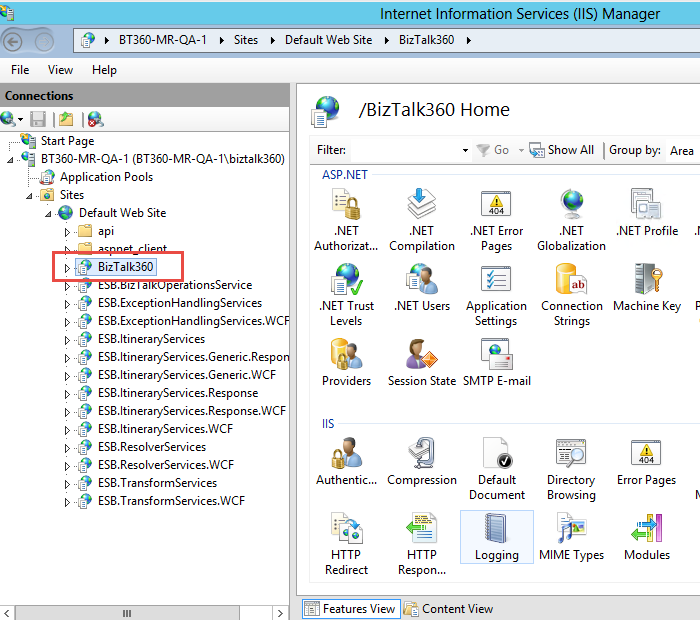
We can change the DNS name by uninstalling BizTalk360. However, do check the DNS name under IIS -> Default Web Service before performing the uninstallation process.

Reinstalling BizTalk360 With Different Virtual Directory Settings
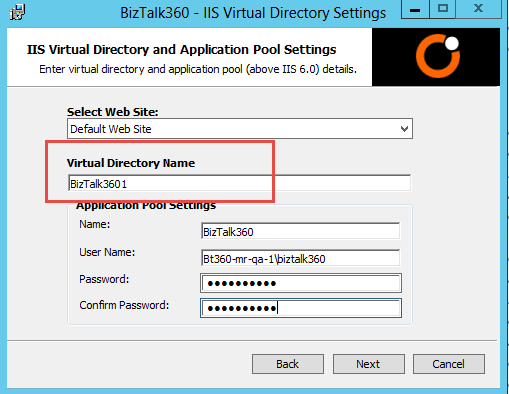
After successful uninstallation, you can re-install BizTalk360. During installation, select the IIS website where you want to create the virtual directory in the IIS Virtual Directory Settings page. For instance, if you wanted to change the name from BizTalk360 to BizTalk3601, here's where you can do this!
Enter the application pool settings such as Name, username, and password.
Once you have entered the information, click Next to proceed further
Make sure the user is a part of the local groups (refer the Prerequisites)
Click Test Connection
You will notice a warning dialog box stating that the database already exists and provide an option to either rename the DB name or overwrite it. Based on your requirement, you can rename it or overwrite it. In the final step, you will see another dialog box stating that the database "BizTalk360" already exists. You can continue and install BizTalk360.

Once you have completed the installation process, restart IIS. The following changes will be reflected in IIS - > Default Web site -> BizTalk3601 and in the website. The DNS name would reflect the new name that was provided during the installation process.
